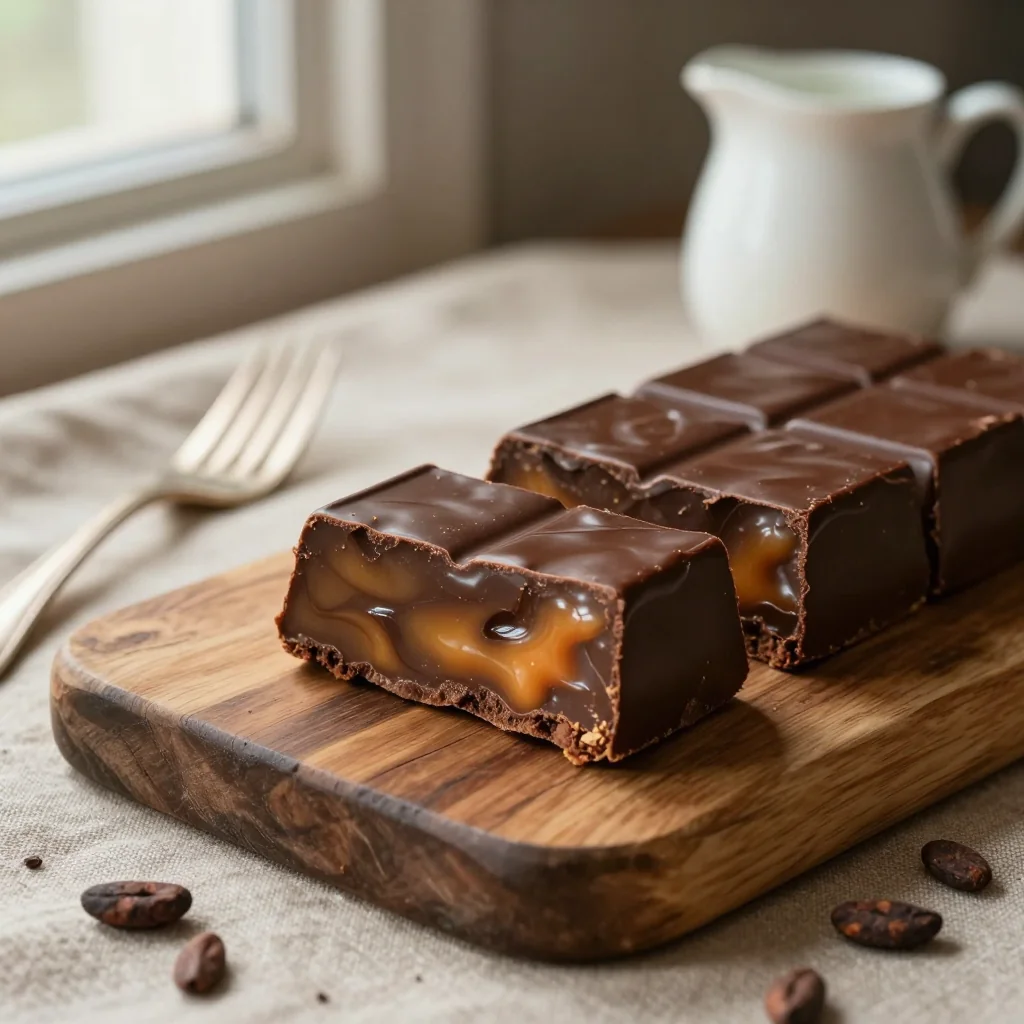
Indulge in silky, melt‑in‑your‑mouth chocolate fudge that turns a simple pantry staple into a luxurious treat.
I still remember the first time I tasted a piece of homemade fudge as a child, sitting at my grandmother’s kitchen table while the summer rain drummed against the windows. The sheer, velvety richness of chocolate melting on my tongue felt like a secret whispered between generations—a sweet memory that lingered long after the plate was cleared. That moment sparked my lifelong fascination with simple desserts that could transform everyday ingredients into unforgettable experiences.
Fudge, in its purest form, is a celebration of balance: the deep bitterness of cocoa, the buttery smoothness of condensed milk, and the subtle snap of a pinch of sea salt. Though the recipe hails from classic American confectionery, its roots trace back to the early 20th‑century “boiled sweets” that were popular in both Europe and the United States. Today, this particular version—Fudge with Condensed Milk Chocolate—has become a staple in my home for holidays, potlucks, and spontaneous cravings.
In this article, I’ll walk you through every nuance of the process, from selecting the perfect chocolate to mastering the glossy finish that makes each square shine. You’ll learn why each ingredient matters, how to avoid common pitfalls, and the science behind that perfect, firm‑yet‑soft texture that defines great fudge.
So tie your apron, preheat your patience, and let’s embark on a journey that will turn a humble can of condensed milk into a show‑stopping dessert that everyone will adore.
🌟 Why This Recipe Will Win Your Heart
This fudge isn’t just another sweet treat; it’s a carefully crafted experience that blends convenience, flavor depth, and visual appeal.
- ✨ Effortless Simplicity : Only five core ingredients and a single saucepan mean you can create a gourmet‑level dessert without a laundry list of supplies.
- ✨ Consistent Texture : The precise balance of condensed milk and chocolate guarantees a smooth, non‑grainy finish every time.
- ✨ Versatile Flavor Canvas : Add nuts, sea salt, or a splash of espresso to customize the fudge for any occasion.
- ✨ Long‑Lasting Freshness : Properly stored, the fudge stays moist and flavorful for weeks, making it perfect for make‑ahead parties.
- ✨ Crowd‑Pleaser : Its rich chocolate profile appeals to both kids and adults, turning any gathering into a celebration.
- ✨ Budget‑Friendly Luxury : High‑quality chocolate and a can of condensed milk cost less than a box of premium candy, yet deliver a luxurious mouthfeel.
🥗 Ingredients
📝 Complete Ingredient List
For the Fudge Base:
For the Optional Topping:
For the Optional Garnish (Optional):
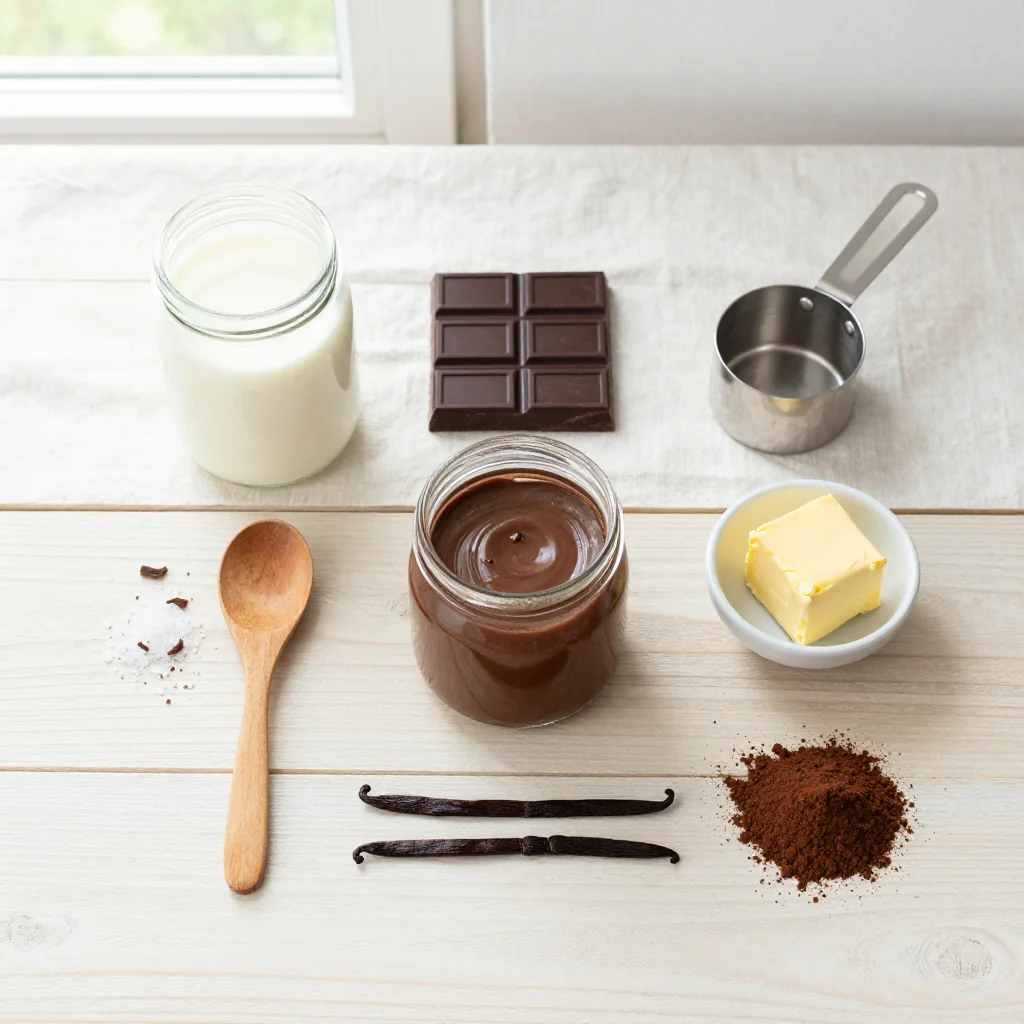
🔍 Focus on Key Ingredients
Sweetened Condensed Milk
This dairy‑based syrup is the heart of the fudge. Its high sugar concentration prevents crystallization, giving the final product that coveted creamy, melt‑in‑your‑mouth texture. When selecting, choose a brand that lists real milk as the first ingredient; this ensures a richer flavor and smoother mouthfeel.
Dark Chocolate (70% Cocoa)
Dark chocolate provides depth and a slight bitterness that balances the sweetness of the condensed milk. Opt for chocolate that contains cocoa butter rather than vegetable oil, as the former contributes to the glossy finish and a firm snap when the fudge sets.
Unsalted Butter
Butter adds a luxurious sheen and a subtle dairy note that rounds out the chocolate’s intensity. Using unsalted butter gives you precise control over the final salt level, especially important when you plan to finish with flaky sea salt.
🔄 Quick Substitutions
| If you don’t have... | Use instead... |
|---|---|
| Condensed milk | Make a homemade version: 1 cup evaporated milk + 1½ cups sugar, simmered until thick. |
| Dark chocolate | Milk chocolate + 2 tbsp cocoa powder (adjust sweetness). |
| Unsalted butter | Salted butter (reduce added sea salt by half). |
👨🍳 Step‑by‑Step Instructions
Follow these detailed steps to achieve a perfectly smooth, glossy fudge that holds its shape yet melts delightfully on the tongue.
📋 Phase 1: Preparation & Mise en Place
Gather all ingredients, line a baking pan, and set up a heat‑proof bowl for melting.
Prepare the Pan
Line an 8‑inch square baking pan with parchment paper, allowing the paper to overhang the sides for easy removal later. Lightly spray the parchment with non‑stick cooking spray or brush with a thin layer of melted butter.
Measure and Chop
Measure the condensed milk, butter, and vanilla extract into separate containers. Roughly chop the dark chocolate into 1‑inch pieces to ensure even melting.
🔥 Phase 2: Cooking & Assembly
Combine, melt, and monitor the mixture closely to achieve the perfect consistency.
Combine Condensed Milk, Butter, and Chocolate
Place the chopped chocolate, butter, and condensed milk into a heavy‑bottomed saucepan. Set the saucepan over low to medium‑low heat. Stir constantly with a silicone spatula, allowing the butter to melt first, then the chocolate. This gradual melting prevents scorching and ensures a smooth blend.
Incorporate Vanilla and Salt
Once the mixture is fully combined and glossy, remove the pan from heat. Stir in the vanilla extract and fine sea salt. The salt enhances the chocolate’s depth and balances the sweetness.
Pour into the Prepared Pan
Quickly pour the hot fudge mixture into the lined pan, spreading it evenly with a spatula. If you’re adding toasted almonds, sprinkle them now while the fudge is still fluid so they adhere.
✨ Phase 3: Finishing & Serving
Cool, cut, and present your fudge for maximum visual and taste impact.
Cool the Fudge
Allow the fudge to cool at room temperature for about 20 minutes, then transfer the pan to the refrigerator. Chill for a minimum of 2 hours, or until the fudge is firm enough to cut cleanly.
Cut into Squares
Using the parchment overhang, lift the entire slab onto a cutting board. With a sharp, non‑serrated knife warmed under hot water (dry before cutting), slice the fudge into 12 even squares. Warmed knives prevent dragging and keep edges crisp.
Optional Dusting
If desired, lightly dust each square with cocoa powder or a pinch of flaky sea salt for an added visual contrast and a subtle flavor boost.
Serve and Store
Serve the fudge at room temperature for the best texture. Store leftovers in an airtight container in the refrigerator for up to 2 weeks, or freeze for up to 3 months.
💡 Expert Tips & Tricks
🛒 Choosing the Right Ingredients
When selecting dark chocolate, look for a label that lists cocoa butter as the first fat source; this ensures a smooth melt and glossy finish. For condensed milk, brands that use real milk (rather than whey or soy) produce a richer, creamier fudge. Finally, opt for a high‑quality flaky sea salt—its larger crystals add a delightful pop when you bite into the fudge.
🔪 Preparation Techniques
Chop chocolate into uniform pieces to guarantee even melting. Keep all tools dry; any water can cause the chocolate to seize. Use a silicone spatula rather than a metal spoon to avoid scratching the saucepan and to better control the mixture’s texture.
🌡️ Mastering the Cooking Stage
Maintain low heat throughout the cooking process. A gentle simmer allows the sugar in the condensed milk to dissolve without crystallizing. If you have a candy thermometer, aim for 115 °C (239 °F), which is the soft‑ball stage—ideal for fudge.
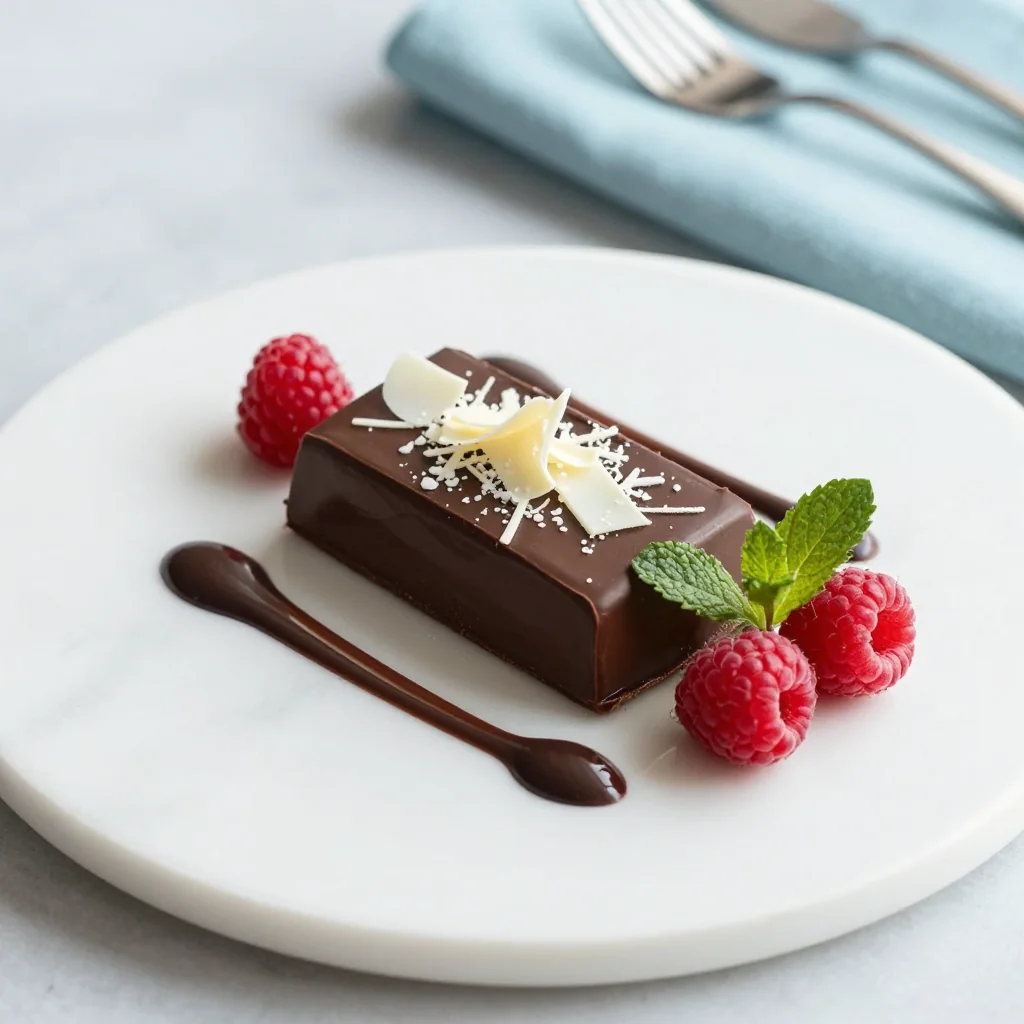
🍽️ Presentation & Service
Use parchment overhang to lift the fudge slab cleanly, preserving its shape. For a polished look, arrange squares on a marble slab, drizzle a thin ribbon of melted white chocolate, and sprinkle with a few toasted almond slivers.
🏆 Pro Tips
Professional chefs treat fudge as both science and art; here’s what separates a good batch from a legendary one.
- 🎯 Temperature Precision : Using a calibrated candy thermometer eliminates guesswork. Hitting the exact soft‑ball stage (115 °C) ensures the fudge sets firm but remains melt‑in‑your‑mouth.
- 🎯 Fat Ratio Balance : The ratio of butter to chocolate (roughly 1:5 by weight) creates a glossy surface while preventing a greasy mouthfeel.
- 🎯 Controlled Cooling : Rapid cooling can cause the fudge to crack. Let it rest at room temperature before refrigeration to allow the sugar crystals to stabilize.
- 🎯 Uniform Cutting : Warm the knife in hot water for 10 seconds, dry it, and slice in one smooth motion. This technique yields clean edges without crumbling.
- 🎯 Flavor Layering : Adding a dash of espresso powder (1 g) intensifies chocolate depth without adding bitterness, a secret used in many pastry kitchens.
- 🎯 Storage Science : Store fudge in a single layer, separated by parchment sheets, to prevent squares from sticking together during refrigeration.
"Chocolate is an ingredient that teaches you patience, precision, and the joy of simple indulgence." — Jacques Torres, The Chocolate King
🔄 Variations & Adaptations
Fudge’s forgiving nature invites endless creativity. Below are several pathways to tailor the recipe to your palate, dietary needs, or seasonal inspiration.
🥬 Vegan Version
Swap the dairy condensed milk for coconut‑based sweetened condensed milk, and replace butter with a plant‑based margarine. Use a vegan dark chocolate (certified dairy‑free) to keep the recipe entirely plant‑based while retaining that glossy sheen.
- Substitution 1: Coconut condensed milk – provides a subtle tropical note.
- Substitution 2: Vegan butter – maintains texture without dairy.
🌶️ Flavor Variations
Play with complementary flavors to create themed fudges that match any occasion.
Spicy Chili Version:
Incorporate ½ teaspoon of finely ground cayenne pepper and a drizzle of chili‑infused chocolate after the fudge sets. The heat pairs beautifully with the deep cocoa.
Mediterranean Olive‑Oil Version:
Replace half the butter with high‑quality extra‑virgin olive oil and add a sprinkle of crushed pistachios. The olive oil adds a fruity undertone that echoes Mediterranean desserts.
Asian Matcha Version:
Stir in 1 g of culinary‑grade matcha powder after removing the pan from heat. The vibrant green hue and subtle tea flavor create a sophisticated fusion.
⚠️ Dietary Adaptations
Gluten‑Free:
All ingredients are naturally gluten‑free; just ensure the chocolate and any added toppings are processed in a gluten‑free facility.
Lactose‑Free:
Use lactose‑free condensed milk (available in many health food stores) and replace butter with lactose‑free margarine.
Low‑Calorie:
Reduce the chocolate amount by 25 % and substitute half of the butter with a light cream cheese spread. The fudge will be lighter but still satisfy the chocolate craving.
👶 Family/Kids Version
Kids love a touch of fun. Add colorful sprinkles to the top before the fudge sets, or fold in mini marshmallows for a softer bite. Keep the sugar level the same, but consider serving smaller squares to control portion size.
📦 Storage & Reheating
🧊 Conservation
Refrigerator:
- Duration: 14 days
- Recommended container: Airtight glass or BPA‑free plastic container with a tight‑fitting lid.
- Tip: Place a sheet of parchment between layers if storing multiple rows of squares.
Freezer:
- Duration: 3 months
- Method: Wrap the entire pan tightly in foil, then place in a freezer‑safe bag.
- Defrosting: Transfer to the refrigerator overnight; avoid microwave defrost to preserve texture.
💡 For the best texture after freezing, let the fudge sit at room temperature for 10 minutes before slicing; this prevents cracking.
♨️ Reheating
🔥 Oven (Recommended):
- Preheat to 150 °C (300 °F).
- Cover the pan loosely with aluminum foil to retain moisture.
- Heat for 8‑10 minutes, checking for a soft, pliable surface.
- Remove foil and heat an additional 2‑3 minutes if you desire a slightly glossy top.
⚡ Microwave (Quick):
- Place a single square on a microwave‑safe plate.
- Cover with a microwave‑safe lid or paper towel.
- Heat on medium power for 15‑20 seconds, then stir gently.
- Repeat in 10‑second bursts until the desired softness is reached.
🍳 Stovetop (Optional):
If you prefer a stovetop method, place a small amount of fudge in a non‑stick skillet over low heat, stirring continuously until melted. This works well for drizzling over desserts.
🍷 Perfect Pairings
🥗 Side Accompaniments
- Fresh Berries: A handful of raspberries or strawberries adds acidity that cuts through the richness.
- Whipped Mascarpone: Lightly sweetened mascarpone provides a creamy contrast without overwhelming the chocolate.
- Salted Caramel Sauce: Drizzle a thin line for a sweet‑salty symphony.
🍷 Wine & Beverage Pairings
- Port Wine (Ruby): Its fruit‑forward profile amplifies the chocolate’s depth.
- Malbec: The bold tannins and dark fruit notes complement the fudge’s intensity.
- Non‑Alcoholic: A chilled glass of hibiscus iced tea offers a tart counterpoint.
🍰 Complementary Courses
Begin with a light citrus salad to awaken the palate, follow the fudge with a vanilla bean panna cotta, and finish with a cup of espresso to cleanse the palate and highlight the chocolate’s lingering notes.
❓ Frequently Asked Questions
Q: Can I use milk chocolate instead of dark chocolate?
A: Yes, but expect a sweeter, less complex flavor. To maintain texture, increase the butter by 10 g to compensate for the lower cocoa butter content in milk chocolate.
Q: How do I know when the fudge has reached the right stage without a thermometer?
A: Perform the “cold plate test.” Drop a small spoonful of the mixture onto a chilled plate; if it firms up within 10 seconds and you can push it with a finger to create a smooth surface, it’s ready.
Q: My fudge turned grainy—what went wrong?
A: Graininess usually results from overheating or stirring too vigorously after the mixture reaches the soft‑ball stage. Keep the heat low, stir gently, and remove the pan as soon as the mixture is glossy.
Q: Can I add dried fruit or other mix‑ins?
A: Absolutely! Fold in dried cherries, orange zest, or crushed pretzels after removing the pan from heat, before pouring into the pan. Ensure mix‑ins are dry to avoid introducing excess moisture.
Q: Is it safe to make fudge ahead of a holiday gathering?
A: Yes. Prepare the fudge up to 3 days in advance and store it refrigerated. The flavor actually deepens as it rests, making it even more delicious.
Q: How can I make the fudge lower in sugar?
A: Substitute half of the condensed milk with an equal weight of unsweetened evaporated milk and add a natural sweetener like erythritol or stevia, adjusting to taste. The texture may be slightly softer.
🎉 To Your Kitchen!
This Fudge with Condensed Milk Chocolate brings together simplicity and decadence in a single, unforgettable bite. By mastering the precise temperature, respecting the balance of fats, and paying attention to each step, you’ll create a treat that feels like a professional confectionery masterpiece yet requires only a handful of pantry staples. Whether you serve it at a festive gathering, gift it in a decorative tin, or simply enjoy it with a cup of tea, the fudge promises to delight every palate.
I can’t wait to hear how you personalize this recipe—whether you choose the spicy chili twist, the elegant matcha infusion, or a kid‑friendly version with colorful sprinkles. Share your photos, ask questions, and let the community celebrate your success. Remember, the best recipes are those that evolve with each cook who tries them.
Have you tried this recipe?
Leave a comment and a rating below! Share your photos on Instagram with #FudgeFiesta for a chance to be featured on our blog.
Fudge with Condensed Milk Chocolate
Silky, glossy chocolate fudge that melts in your mouth and lasts for weeks.
📝 Ingredients
Fudge Base
Topping (Optional)
👨🍳 Instructions
- 1 Line an 8‑inch square pan with parchment and spray lightly.
- 2 Combine condensed milk, butter, and chopped chocolate in a saucepan over low heat.
- 3 Stir constantly until the mixture is smooth and glossy; avoid boiling.
- 4 Remove from heat, stir in vanilla and fine sea salt.
- 5 Pour into the prepared pan, sprinkle optional toasted almonds.
- 6 Cool at room temperature, then refrigerate for at least 2 hours.
- 7 Lift the slab using parchment overhang and cut into 12 squares with a warm knife.
- 8 Dust with cocoa powder or flaky sea salt if desired.
- 9 Serve at room temperature; store leftovers in an airtight container.
- 10 Enjoy and share with friends!
🥗 Nutrition (per serving)
*Nutrition facts are estimates based on standard ingredient values.
📚 You Might Also Like
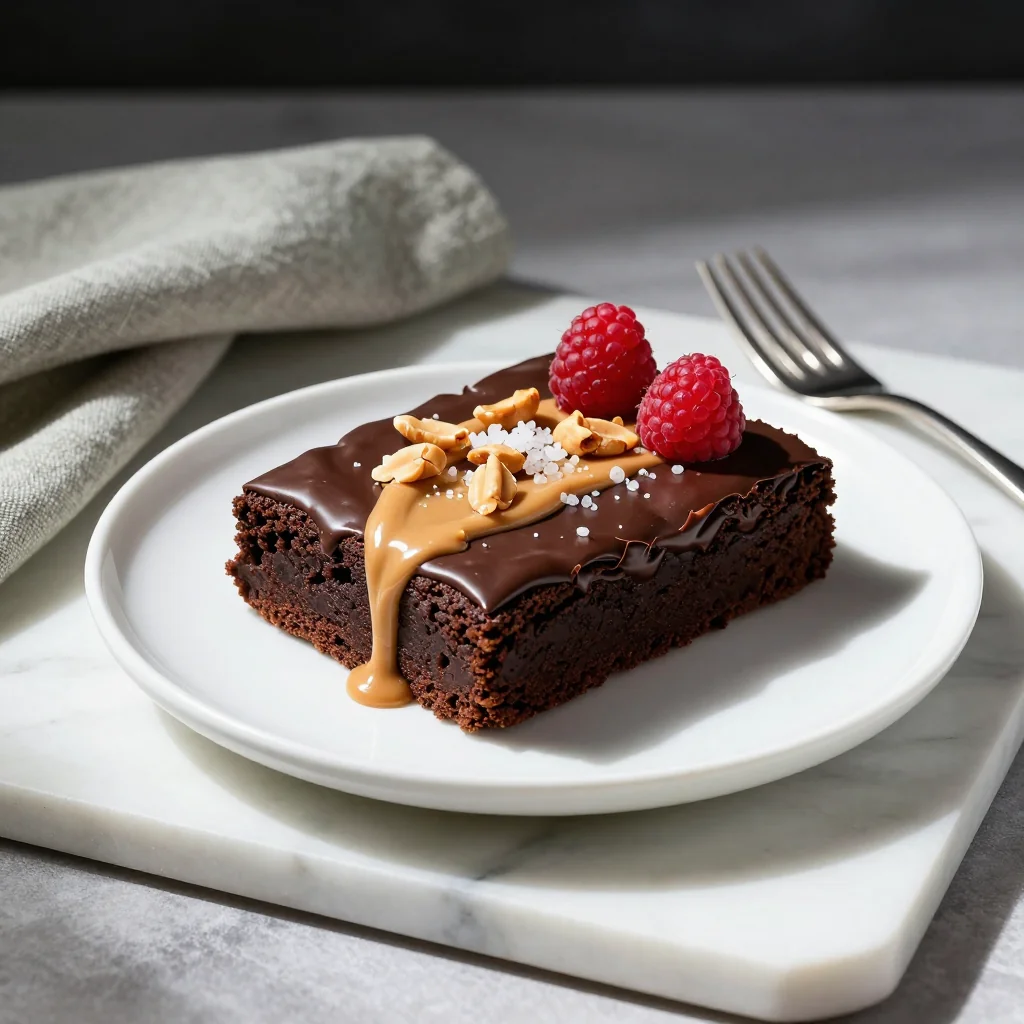
Caramel Sea Salt Brownies
Chocolate Peanut Butter Bars
Mocha Espresso Truffles


💬 Comments & Reviews
Leave a Comment
No comments yet. Be the first to share your thoughts!