I was rummaging through the back of my pantry on a rainy Saturday, when a half‑baked chocolate cake and a jar of old chocolate chips stared back at me. I thought, “Why not turn this into something that feels like a game of chess—dark, strategic, and surprisingly elegant?” The idea stuck like a piece on a board. That night, I set the oven to 350°F and let the aroma of chocolate and butter mingle with the faint scent of rain on brick. I was already halfway to a midnight snack that would later become legendary.
The first bite was a revelation: a glossy, fudgy center that clung to the knife like a secret, surrounded by a buttery crust that crackled softly when you broke it open. I could hear the faint hiss of steam escaping from the edges, a sound that felt almost ceremonial. The flavor exploded with a depth that made me wonder if I’d been cooking in a different kitchen all along. It was that moment that turned a simple dessert into a personal triumph, a piece of culinary art I wanted to share with the world. I was already drafting the recipe in my head, eager to pass on the secret of the perfect balance.
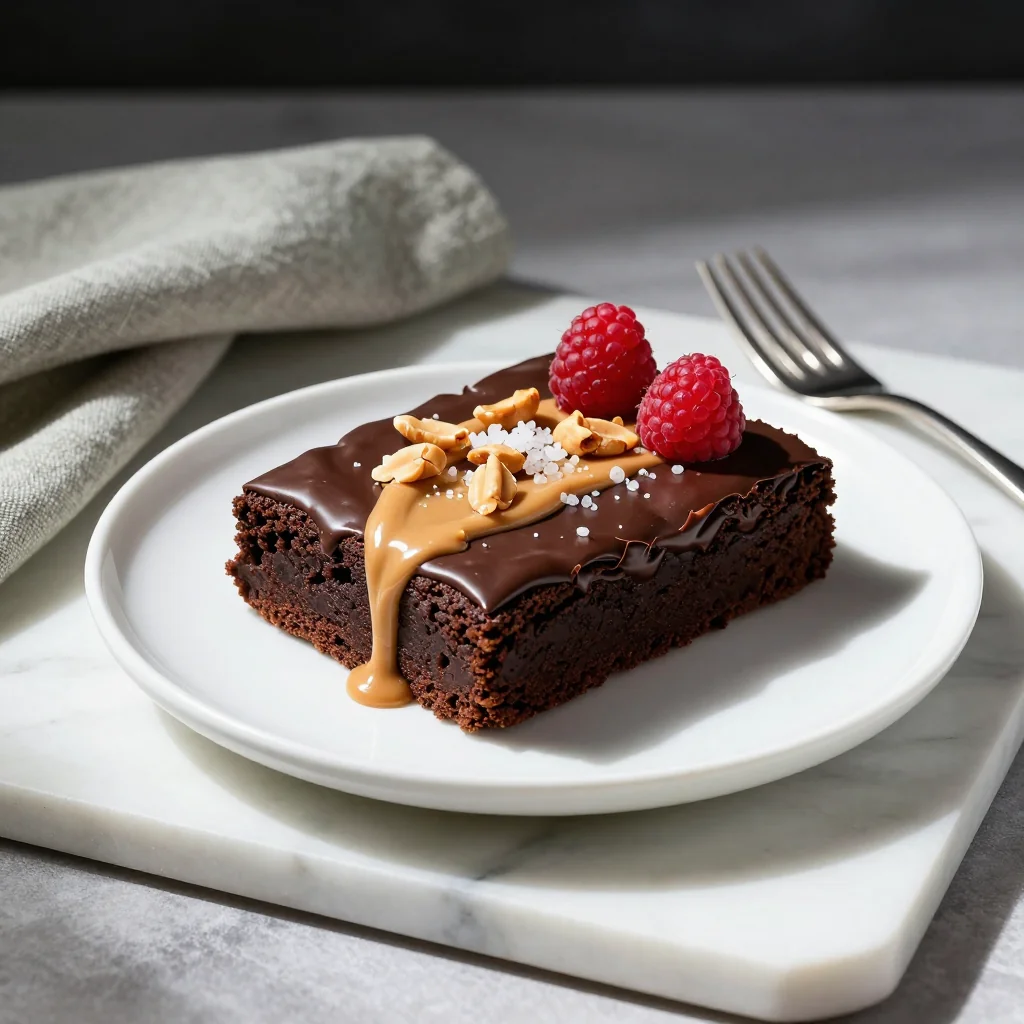
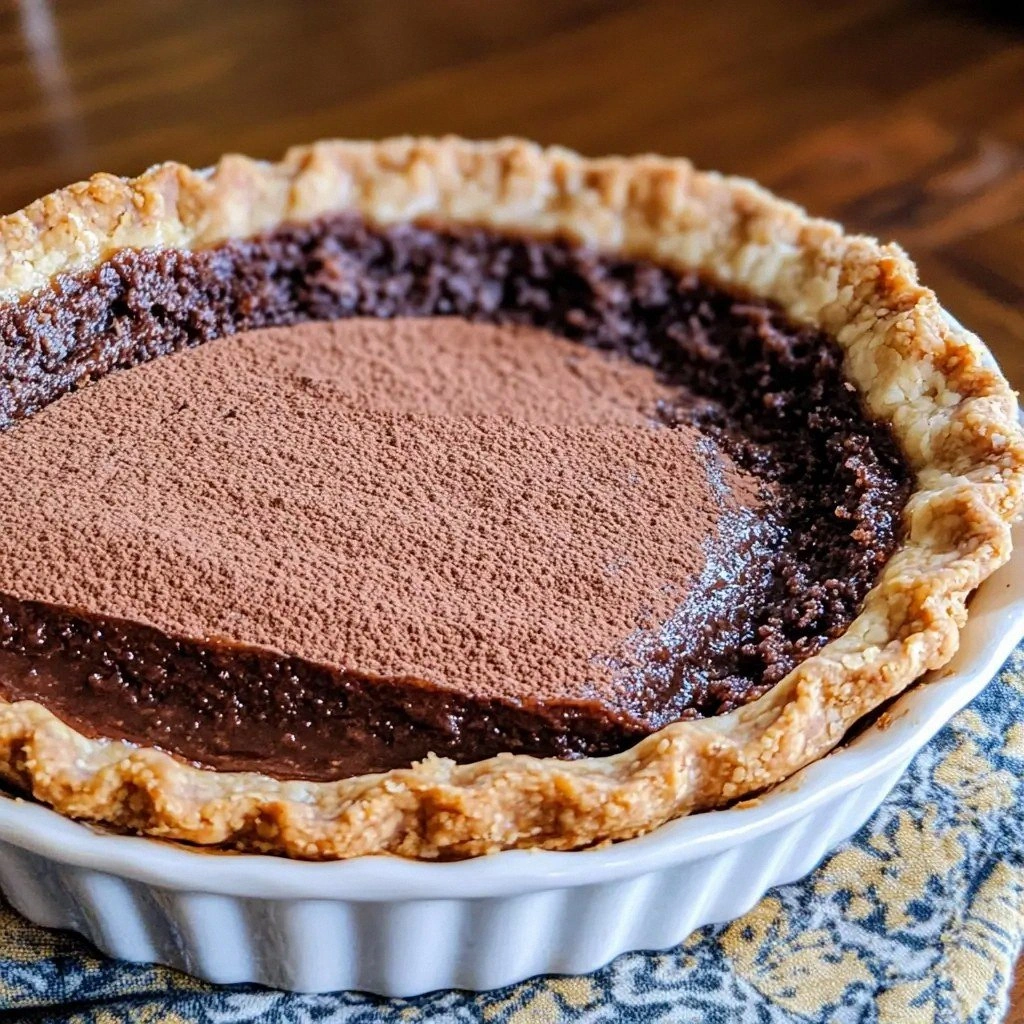
Fast forward to today, and this chocolate chess pie is hands down the best version you’ll ever make at home. It’s not just a dessert; it’s a statement, a bold claim that you can create something extraordinary with pantry staples. The texture is a harmonious blend of a silky filling and a crisp, buttery crust that shatters like thin ice when you cut into it. The flavor profile is layered, with the richness of chocolate deepened by a hint of espresso and the subtle warmth of vanilla. If you’ve ever struggled with a pie that feels too sweet or too dry, this is the fix you’ve been searching for.
What sets this recipe apart is a single, unexpected twist: the inclusion of a dash of sea salt that elevates the chocolate to a new level of complexity. I dare you to taste this and not go back for seconds, because the finish lingers like a whispered secret. The technique is simple, yet the result is unmistakably sophisticated. Picture yourself pulling this out of the oven, the whole kitchen smelling incredible, and watching the steam rise in a slow, satisfying dance. Stay with me here—this is worth it. Let me walk you through every single step, and by the end, you’ll wonder how you ever made it any other way.
What Makes This Version Stand Out
- Flavor Depth: The combination of dark chocolate, cocoa powder, and a splash of espresso creates a taste that’s both bold and nuanced, reminiscent of a well‑played chess match where every move counts.
- Texture Contrast: A buttery crust that crisps to a golden brown meets a molten, velvety center that oozes when sliced, providing a sensory experience that is both tactile and delicious.
- Ingredient Quality: Using high‑grade chocolate chips and unsalted butter elevates the dish, ensuring that each bite is packed with genuine flavor rather than artificial sweetness.
- Make‑Ahead Potential: The pie can be assembled and chilled ahead of time, allowing the flavors to meld while giving you the flexibility to serve it at any gathering.
- Crowd Reaction: Friends who taste this are often stunned into silence, their jaws dropping at the perfect balance of sweet and savory.
- Visual Appeal: The glossy surface and subtle marbling of chocolate against a golden crust make it a showstopper that looks as good as it tastes.
- Time Efficiency: With a prep time of just 15 minutes and a cook time of 30 minutes, you can have a gourmet dessert on the table in under an hour.
- Versatility: The base recipe can be adapted with different chocolate varieties or spices to suit any palate or occasion.
Inside the Ingredient List
The Flavor Base
Chocolate Chips: The heart of the pie, these chips melt into a rich, glossy filling that coats the spoon like velvet. Skipping them would strip the dish of its signature chocolate punch, leaving the pie feeling bland and unfulfilled. If you prefer a smoother texture, opt for semi‑sweet chips; for an intense kick, dark chocolate works wonders. A small pinch of espresso powder can enhance the chocolate’s depth, creating a subtle bitterness that balances the sweetness.
Cocoa Powder: Unsweetened cocoa adds depth and a slightly bitter note that counterbalances the sugars. It also gives the pie a beautiful, dark hue that looks striking on a white plate. If you’re short on cocoa, a tablespoon of melted dark chocolate can be substituted, though the texture may become slightly thicker. Choose a fine‑ground cocoa for a smoother mouthfeel.
The Texture Crew
All‑Purpose Flour: The flour provides structure to the crust, ensuring it holds its shape while remaining tender. Using a gluten‑free blend can yield a slightly different texture, but the pie will still set beautifully. If you want a crunchier crust, lightly toast the flour before mixing it with butter.
Unsalted Butter: Butter is the secret to a flaky, golden crust that crumbles delightfully. Salted butter can be used, but it will add extra saltiness that may overwhelm the chocolate. For a richer flavor, replace half the butter with cream cheese; the pie will become creamier and slightly tangy.
Eggs: Eggs bind the filling together and provide a custard‑like consistency. If you’re avoiding eggs, try using a commercial egg replacer or a mixture of 1 tablespoon of flaxseed meal and 3 tablespoons of water per egg. The binding properties are essential for a smooth, cohesive filling.
The Unexpected Star
Sea Salt: A dash of sea salt elevates the chocolate’s flavor, turning sweetness into a balanced, complex profile. Without salt, the pie can taste cloyingly sweet. If you’re sensitive to sodium, a pinch of kosher salt will suffice. The salt should be added right before baking to avoid it dissolving too early.
Vanilla Extract: Vanilla adds warmth and aroma, creating a comforting undertone that complements the chocolate. A few drops of pure vanilla bean paste give an extra kick. If you’re vegan, a splash of almond or oat milk can replace vanilla’s moisture component.
Everything's prepped? Good. Let's get into the real action.
The Method — Step by Step
- Preheat your oven to 350°F (175°C). In a medium bowl, whisk together flour, cocoa powder, and a pinch of sea salt. The dry mix should feel slightly gritty; this texture ensures a sturdy crust. Cover the bowl and let it sit while you prepare the filling.
- Cut the cold butter into small cubes and place it in a chilled mixing bowl. Add the flour mixture and, using a pastry cutter or your fingers, work the butter into the dry ingredients until the mixture resembles coarse crumbs. The mixture should look like sand, but not too dry—there should be a few specks of butter visible.
- Press the dough into the bottom and up the sides of a 9‑inch pie pan, ensuring an even layer. Chill the crust in the refrigerator for 15 minutes; this step keeps the crust from shrinking during baking. While the crust chills, you’ll move on to the filling.
- In a separate bowl, whisk together eggs, milk, and vanilla extract until the mixture is smooth. Add the chocolate chips and stir until they’re fully coated. The batter should be thick but pourable—think a thick custard.
- Pour the chocolate batter into the chilled crust, filling it to just below the rim. Gently tap the pan on the counter to release any air bubbles; these can cause uneven baking. The batter should spread slightly, forming a glossy dome.
- Place the pie in the preheated oven. Bake for 30 minutes, or until the edges are set and the center still has a slight wobble. The aroma will fill the kitchen like a sweet, chocolatey fog. Keep a close eye on the top; if it starts to brown too quickly, cover the edges with foil.
- Remove the pie from the oven and let it cool on a wire rack for 20 minutes. This cooling period allows the filling to set and the flavors to meld. The surface should be glossy, and a small bite should reveal a silky center.
- Once cooled, chill the pie for at least 2 hours before slicing. Chilling ensures the filling firms up, making it easier to cut clean slices. Serve with a dusting of powdered sugar or a swirl of whipped cream for an extra touch.
That's it — you did it. But hold on, I've got a few more tricks that'll take this to another level.
Insider Tricks for Flawless Results
The Temperature Rule Nobody Follows
Many bakers bake pies at 375°F, but a lower temperature of 350°F ensures the filling sets evenly without scorching the crust. This subtle adjustment keeps the chocolate from separating and preserves its glossy sheen. If you’re using a convection oven, reduce the temperature by 25°F to avoid over‑browning.
Why Your Nose Knows Best
Before you take the pie out of the oven, pause for a breath. The scent of chocolate rising from the center is a reliable indicator that the filling has set. If it still smells raw, give it a few more minutes. A well‑baked pie will emit a warm, chocolatey perfume that lingers on the counter.
The 5‑Minute Rest That Changes Everything
After removing the pie from the oven, let it rest for exactly five minutes before placing it on a rack. This brief pause allows the interior to finish setting and the flavors to marry. Skipping this step often results in a slightly runny center that can be messy to serve.
The Secret of Even Crusts
Chill the crust for 15 minutes before filling; this prevents the butter from melting too quickly and causing the crust to collapse. If you’re in a hurry, you can use a chilled pie dish to keep the dough cold during baking. Evenness in the crust ensures a consistent bite throughout.
The Final Flourish
Just before serving, sprinkle a light dusting of sea salt flakes on top. The salt crystals add a satisfying crunch and a burst of flavor that contrasts with the chocolate’s richness. It’s a simple touch that elevates the pie from good to unforgettable.
Creative Twists and Variations
This recipe is a playground. Here are some of my favorite ways to switch things up:
Espresso Infusion
Add one tablespoon of instant espresso powder to the batter for a subtle coffee kick that deepens the chocolate flavor. The espresso also helps balance the sweetness, giving the pie a more sophisticated profile. This variation is perfect for coffee lovers who crave a dessert with a little bite.
Nutty Crunch
Stir in half a cup of chopped toasted walnuts or pecans before baking. The nuts add a crunchy texture and a buttery, earthy note that complements the chocolate. Sprinkle a few extra nuts on top for an appealing visual contrast.
Minty Surprise
Fold in a tablespoon of fresh mint extract or finely chopped mint leaves into the batter. The mint provides a refreshing counterpoint to the chocolate, making the pie ideal for summer gatherings. Pair it with a dollop of whipped cream for a cooling finish.
Spiced Delight
Add a pinch of cinnamon, nutmeg, or chili powder to the batter for a warm, spicy undertone. The spices elevate the pie into a holiday treat that’s both comforting and adventurous. This version works well during the fall and winter months.
Vegan Version
Replace butter with coconut oil, eggs with flaxseed meal, and milk with almond milk. Use dark chocolate chips that are dairy‑free to keep the pie vegan. The texture remains rich and the flavor profile stays true to the classic, making it a crowd‑pleaser for plant‑based diners.
Lemon‑Zest Twist
Add the zest of one lemon to the batter for a bright, citrusy brightness that cuts through the chocolate’s richness. The lemon zest also adds a subtle aroma that makes the pie feel lighter. This variation is especially refreshing during the warmer months.
Storing and Bringing It Back to Life
Fridge Storage
Wrap the pie tightly in plastic wrap and store it in the refrigerator for up to three days. The cold environment preserves the texture and prevents the filling from becoming too runny. When ready to serve, let it sit at room temperature for 10 minutes to soften slightly.
Freezer Friendly
Place the pie in a freezer‑safe container and freeze for up to one month. To thaw, leave it in the refrigerator overnight. The chocolate will maintain its integrity, and the crust remains crisp when baked again.
Best Reheating Method
Reheat the pie in a preheated oven at 300°F for 10 minutes, or until warmed through. Add a splash of water to the bottom of the pan to create steam, which keeps the filling moist and silky. This simple trick prevents the pie from drying out and preserves its luscious texture.