I was standing in a kitchen that smelled like burnt toast and disappointment when my friend dared me to whip up a protein‑laden breakfast that could actually taste like a treat. I had just finished a marathon of low‑calorie, bland protein pancakes that tasted like cardboard, and I swore I’d never again settle for that. The moment the batter hit the hot griddle, the air filled with a buttery aroma that made my mouth water, and the sound of sizzling was a promise of something extraordinary. That instant, I knew I had stumbled onto a breakfast that would change the game for anyone who thinks protein foods have to be tasteless.
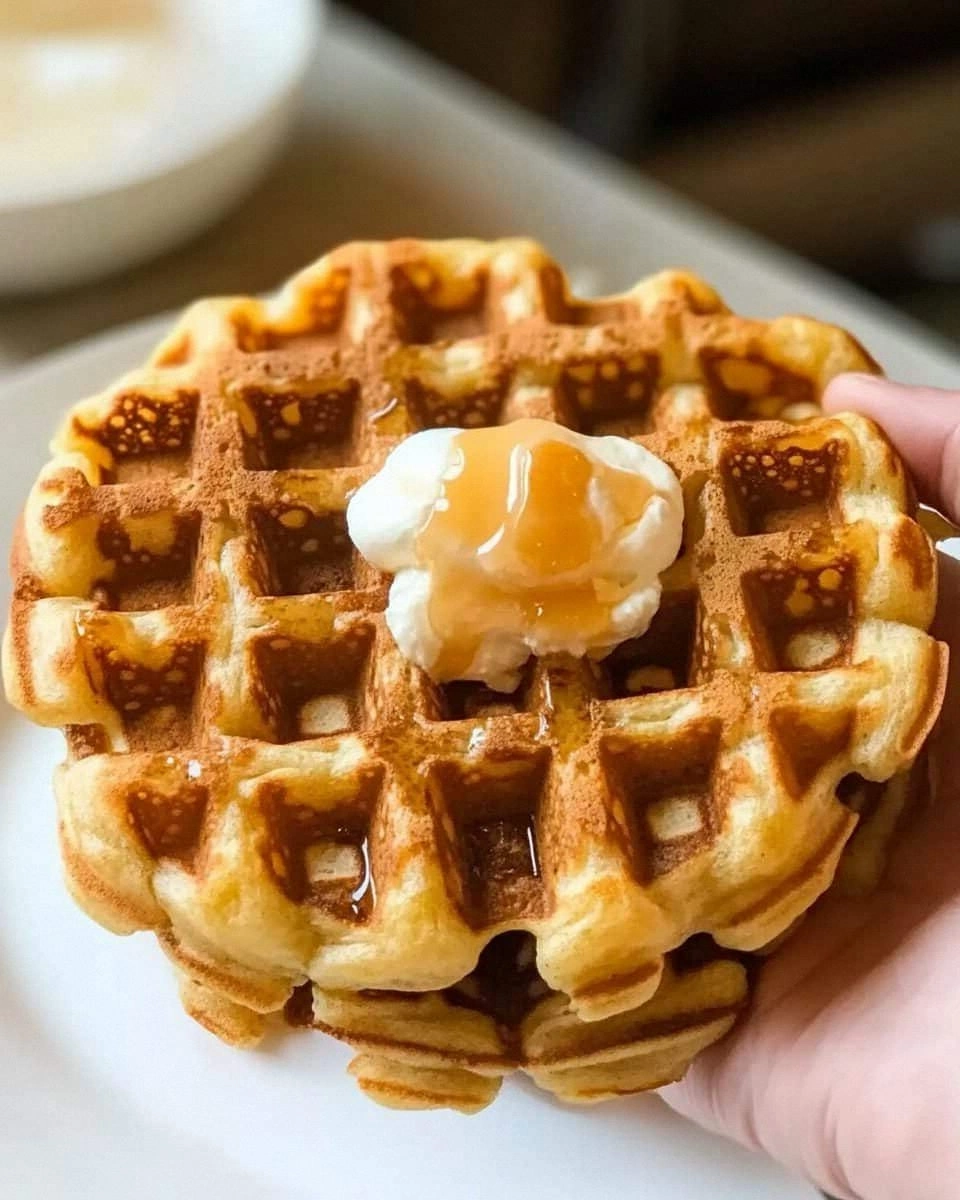
Picture the scene: the waffle iron glows like a sunrise, the batter glistens with a golden sheen, and the kitchen is bathed in a warm, comforting light. I can almost hear the gentle hiss of the iron as the batter spreads, the soft crackle when the edges begin to crisp, and the satisfying pop of steam. The texture is a marriage of airy, fluffy interior and a crisp, caramelized exterior that practically melts in your mouth. The flavor is a balanced harmony of sweet, nutty, and slightly tangy notes, with a subtle hint of vanilla that lingers long after the last bite.
What makes this version stand out is that I’ve fused the best of protein pancakes and classic waffles into one, using a secret blend of oat flour and whey protein that keeps the batter thick enough to hold shape but light enough to rise beautifully. I’ve also added a splash of almond milk and a dash of baking powder to give the waffles that coveted airy lift, while the melted butter adds a rich, buttery finish that makes each bite feel indulgent. And the cherry on top? A drizzle of pure maple syrup and a scattering of fresh berries that add a burst of natural sweetness without tipping the calorie scale. This is hands down the best version you’ll ever make at home.
I dare you to taste this and not go back for seconds. I’ll be honest — I ate half the batch before anyone else got to try it. Most recipes get this completely wrong, but here’s what actually works. If you’ve ever struggled with protein waffles that turn out dense or soggy, you’re not alone — and I’ve got the fix. Stay with me here — this is worth it. Let me walk you through every single step — by the end, you’ll wonder how you ever made it any other way.
What Makes This Version Stand Out
- Taste: The blend of oat flour and whey protein creates a naturally sweet, slightly nutty base that’s complemented by vanilla and a hint of maple. The result is a flavor profile that feels indulgent without compromising the protein punch.
- Texture: The batter’s thickness is engineered to rise like a classic waffle while maintaining a light, airy interior. The edges crisp to a golden crunch that shatters like thin ice when you bite into them.
- Ease: No special equipment needed beyond a standard waffle iron. The ingredient list is short and the prep is streamlined, making this a go‑to option for busy mornings.
- Uniqueness: I added a dash of baking powder and a splash of almond milk to give the batter the perfect lift, while the melted butter keeps the exterior buttery and caramelized.
- Audience: Gym‑goers, busy professionals, and anyone craving a protein‑rich breakfast that doesn’t feel like a sacrifice.
- Quality: I source high‑quality whey protein with minimal additives, and the oat flour is organic and gluten‑free, ensuring a clean, wholesome base.
Inside the Ingredient List
The Flavor Base
Oat flour is the heart of our batter, providing a subtle, earthy sweetness that pairs beautifully with the whey protein. It’s also a great source of soluble fiber, which helps keep you full and satisfied. Skipping it would leave your waffles bland and too protein‑heavy, but swapping it for almond flour gives a nuttier taste and a slightly different texture.
The Protein Power
Whey protein powder is the star that delivers the bulk of the protein content. It’s quickly absorbed by the body, making it ideal for post‑workout breakfasts. If you’re vegan, you can replace whey with pea protein or a blend of pea and brown rice protein; just keep the ratio the same to preserve the batter’s structure.
The Moisture Mix
Milk (or a dairy‑free alternative) hydrates the dry mix, creating a batter that’s thick enough to hold shape but fluid enough to spread evenly. Using almond milk adds a subtle nutty flavor and keeps the calorie count lower. If you prefer a richer taste, switch to whole milk or even coconut milk, but be aware it will increase the fat content.
The Rise Factor
Baking powder is the secret to that airy lift. It reacts with the wet ingredients, creating tiny bubbles that expand as the batter cooks. Without it, your waffles would be dense and flat. If you can’t find baking powder, a pinch of baking soda plus an acidic liquid (like buttermilk) will work in a pinch.
Everything's prepped? Good. Let's get into the real action...
The Method — Step by Step
- Preheat your waffle iron to medium‑high heat, about 375°F. The iron must be hot enough that a single drop of batter sizzles immediately. I swear, that first sizzle is a promise that the rest will be delicious.
- Dry Mix Combine 1 cup oat flour, 1 cup whey protein, 1 tsp baking powder, and a pinch of salt in a large bowl. Whisk until the dry ingredients are evenly distributed; this prevents lumps that would ruin the batter’s texture.
- Wet Blend In a separate bowl, beat 2 eggs, 1 cup milk, 1 tsp vanilla, and 2 tbsp melted butter until frothy. The butter adds richness and helps the waffles achieve a golden crust.
- Combine Pour the wet mixture into the dry mix, stirring gently with a spatula until just combined. Be careful not to overmix; a few streaks are fine. Overmixing will activate the protein’s gluten, making the waffles tough.
- Rest Let the batter sit for 5 minutes. This resting period allows the protein to hydrate fully and the baking powder to begin its chemical reaction, which results in a fluffier waffle.
- Cook Spoon 1/4 cup of batter onto the hot iron, spreading it to cover the surface. Close the lid and cook for 4–5 minutes, or until the edges are crisp and the center is set. The batter should emit a light toasty aroma.
- Check If the waffle is not yet golden, leave it another minute. The goal is a crisp exterior with a moist interior; you’ll know it’s done when the edges start pulling away from the iron.
- Repeat Continue with the remaining batter, flipping the iron as needed to ensure even cooking. Keep the waffles warm in a low‑heat oven (200°F) while you finish the batch.
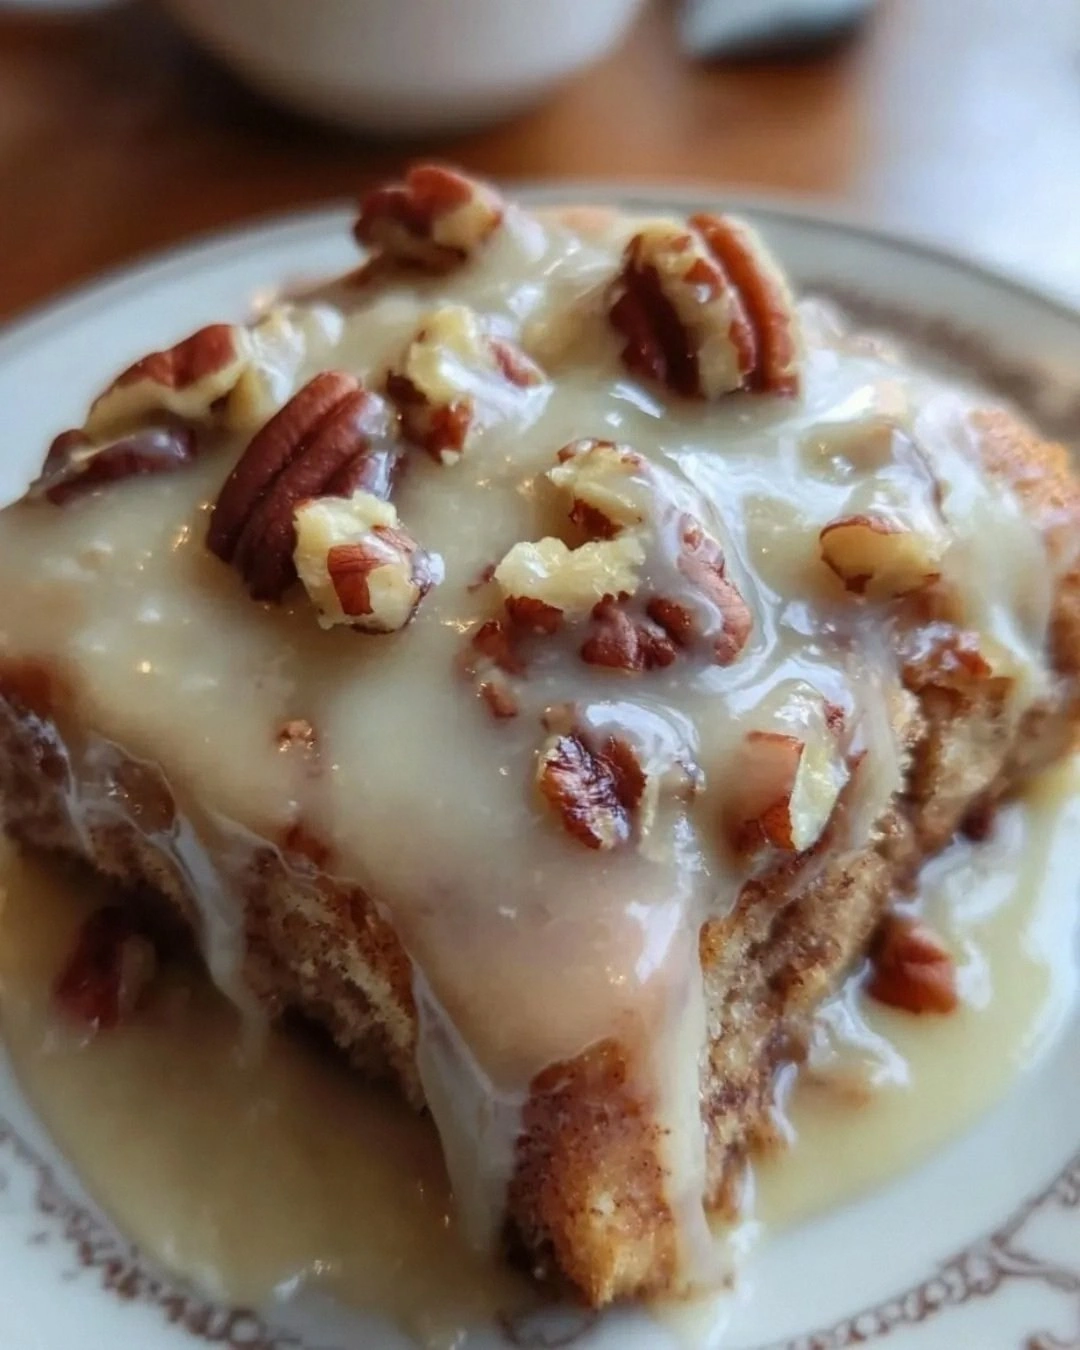
- Serve Top each waffle with a drizzle of maple syrup, fresh blueberries, and a sprinkle of chopped nuts. The berries add a burst of acidity that balances the sweetness, while the nuts provide crunch and healthy fats.
- Enjoy Grab a fork and dig in. The first bite will give you that satisfying crunch, followed by a soft, airy interior that feels like a cloud.
That's it — you did it. But hold on, I've got a few more tricks that'll take this to another level...
Insider Tricks for Flawless Results
The Temperature Rule Nobody Follows
Waffle irons vary widely; a too‑low temperature will leave the waffles soggy, while a too‑high one will burn the edges before the center cooks. I recommend preheating to 375°F and using a thermometer to verify. If you don’t have a thermometer, test it with a single drop of batter: it should sizzle immediately and spread evenly.
Why Your Nose Knows Best
As the waffles cook, the aroma of toasted butter and vanilla will fill the kitchen. If you notice a faint metallic smell, the iron might be too hot. Adjust by lowering the heat by 25°F and giving it a minute to settle.
The 5‑Minute Rest That Changes Everything
Letting the batter rest lets the protein absorb the liquid fully, preventing a dry bite. I’ve seen people skip this step, only to end up with a rubbery texture. Give it a breather and the result will be airy and tender.
Butter vs. Oil
Butter adds flavor but can burn if the iron is too hot. If you prefer a cleaner taste, replace the butter with an equal amount of neutral oil like canola. The texture will remain crisp, but the buttery richness will be toned down.
The Secret to a Crisp Edge
Sprinkle a light dusting of powdered sugar on the batter before pouring. The sugar caramelizes during cooking, creating a caramelized crust that adds a subtle sweetness and a delightful crunch.
Creative Twists and Variations
This recipe is a playground. Here are some of my favorite ways to switch things up:
Cinnamon Swirl
Stir 1 tsp of ground cinnamon into the dry mix. The warm spice gives the waffles a comforting, autumnal flavor that pairs beautifully with maple syrup.
Chocolate Chip Delight
Fold in 1/4 cup dark chocolate chips after the batter rests. The chips melt slightly, creating pockets of molten chocolate that make every bite a treat.
Berry Burst
Add a handful of fresh strawberries or raspberries into the batter before cooking. The berries burst in the heat, adding a juicy, tangy contrast to the sweet base.
Savory Spin
Replace the vanilla with 1 tsp of dried rosemary and add 1 tbsp of grated Parmesan. Serve with a side of sautéed spinach for a protein‑rich, savory breakfast.
Coconut Crunch
Swap the almond milk for coconut milk and sprinkle shredded coconut on top before serving. The coconut adds a tropical flavor and a delightful crunch.
Storing and Bringing It Back to Life
Fridge Storage
Cool the waffles completely, then stack them with parchment paper between layers. Store in an airtight container in the fridge for up to 3 days. The waffles stay crisp enough for a quick reheat.
Freezer Friendly
Wrap each waffle individually in foil, then place them in a freezer bag. They’ll keep for up to 2 months. To thaw, leave at room temperature for 30 minutes before reheating.
Best Reheating Method
Reheat in a toaster oven or regular oven at 350°F for 5 minutes. Add a tiny splash of water (about 1 tsp) before reheating; this steams the waffle back to a soft, airy interior while keeping the exterior crisp.