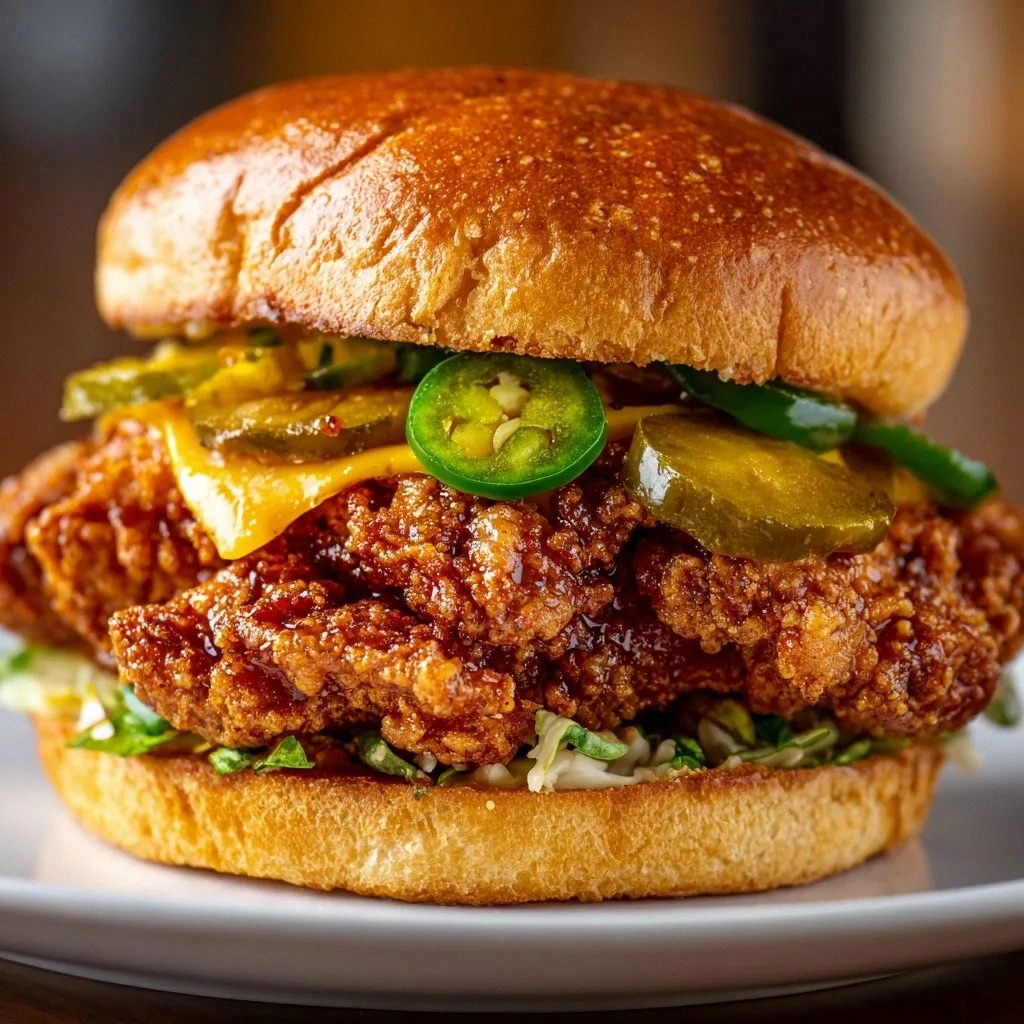
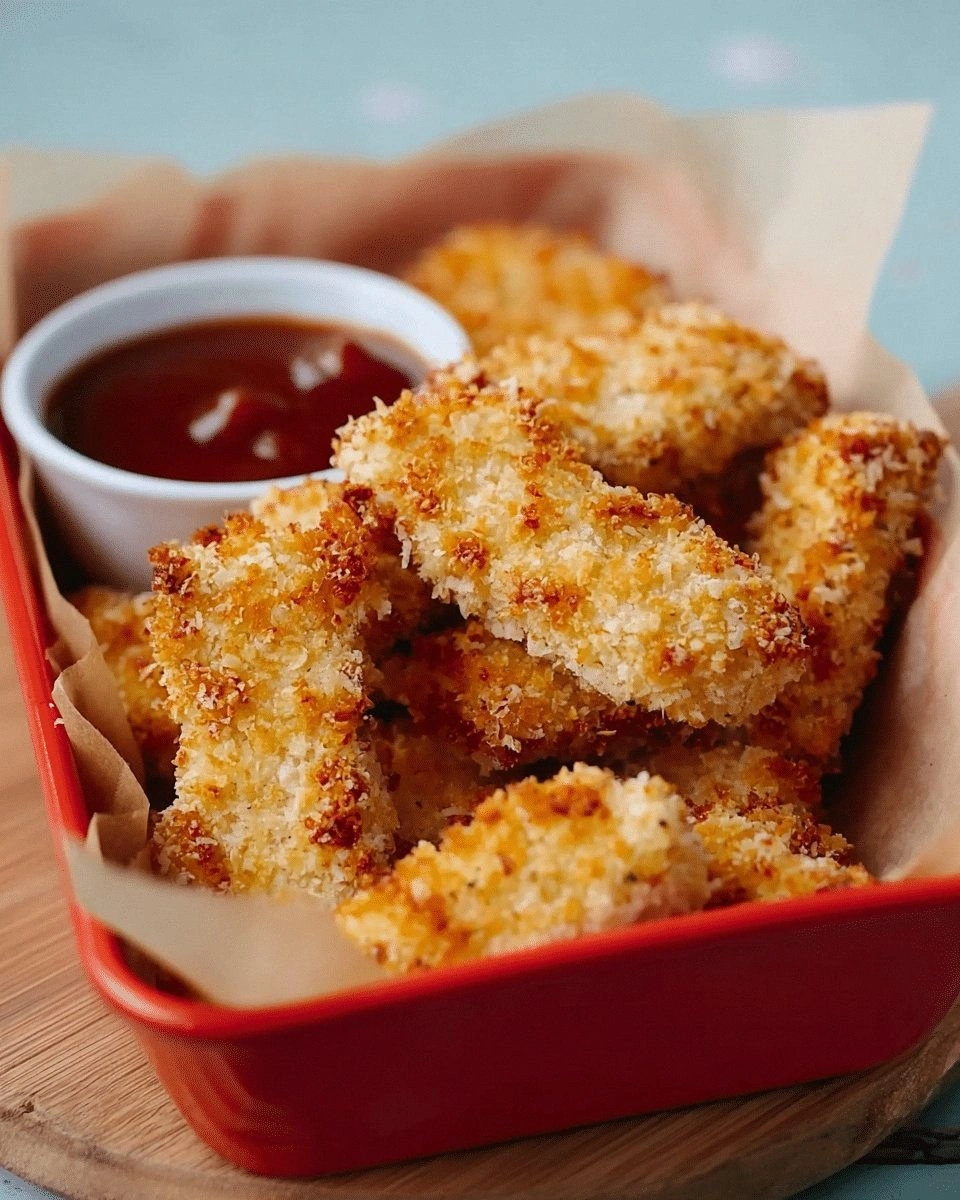
I was halfway through a week of bland tofu when my friend dared me to turn it into something that would make our taste buds do a happy dance. The kitchen smelled of burnt rice from last night’s attempt, and I was desperate for a fix. I pulled out a block of firm tofu, a handful of pantry staples, and a dash of daring. The result? A plate of golden, crispy tenders that practically sang. I was already planning the second batch before the first finished.
Picture the tofu as a blank canvas, waiting for a brushstroke of flavor. When the first bite hits, you hear a satisfying crack that echoes like a tiny applause. The aroma that follows is a smoky, savory perfume, tinged with the faint sweetness of maple syrup. Your tongue is greeted by a sweet–savory kiss that lingers, while the texture offers a buttery crunch that shatters like thin ice. It’s the kind of meal that makes you forget you ever considered tofu a dull side dish.
This version is hands down the best you’ll ever make at home because it marries simplicity with depth. The secret sauce is a quick glaze that coats each tender like velvet, while a dusting of nutritional yeast gives an umami boost that’s hard to find in store‑bought versions. I dare you to taste this and not go back for seconds; the crunch is unmatchable, and the flavor profile is layered with just the right amount of heat and sweetness. Most recipes get this completely wrong by over‑baking or under‑seasoning, but here every bite is a triumph. The technique of pressing the tofu first and letting it dry is a game‑changer that unlocks maximum crispness. I’ll be honest — I ate half the batch before anyone else got to try it.
Picture yourself pulling this out of the oven, the whole kitchen smelling incredible, and the plate gleaming with a golden crust. The moment you lift the first tender, the sizzle is almost audible, and you can’t help but smile. Let me walk you through every single step — by the end, you'll wonder how you ever made it any other way. And trust me, once you master this, you’ll be the go‑to tofu guru at every dinner party. So grab your apron, and let’s dive into the details.
What Makes This Version Stand Out
- Taste: The glaze balances sweet maple syrup with savory soy sauce, creating a flavor profile that feels indulgent yet clean. The subtle heat from chili flakes gives a gentle kick that lingers without overwhelming.
- Texture: Pressing the tofu removes excess moisture, allowing the coating to set into a crisp shell that cracks delightfully when bitten. The cornstarch and flour combo gives a light, airy crunch that stays intact even after a few minutes.
- Simultaneous Flavor: Nutritional yeast adds a nutty depth that pairs perfectly with the smoky paprika, while garlic and onion powders provide a savory backbone.
- Crowd Reaction: Friends who’ve never tasted tofu before rave about how it feels like a new snack. The golden finish makes it Instagram‑ready, and the aroma alone is a crowd‑pleaser.
- Ingredient Quality: Using organic soy sauce and fresh herbs keeps the dish pure and vibrant, and the small amount of sesame oil elevates the overall aroma.
- Cooking Method: Baking instead of frying keeps the dish low‑fat while still delivering a satisfying crunch, and the quick glaze finish adds a glossy sheen.
- Make‑Ahead Potential: These tenders can be baked ahead and reheated in a toaster oven, retaining crispness for up to three days.
- Nutritional Balance: With 25 grams of protein and only 15 grams of fat per serving, this dish offers a lean protein punch that satisfies without guilt.
Inside the Ingredient List
The Flavor Base
Soy Sauce: This salty liquid forms the backbone of the glaze, giving depth and umami. It also helps the coating adhere to the tofu. Skipping it results in a bland coating that won’t hold together.
Garlic Powder: Provides a subtle, all‑day aroma without the risk of burning raw garlic. It layers the glaze with a classic savory note. If you’re sensitive to garlic, reduce it to a half teaspoon.
Onion Powder: Adds a sweet undertone that balances the saltiness of soy sauce. It’s a pantry staple that keeps the recipe simple. You can replace it with finely minced fresh onion if you prefer.
The Texture Crew
Firm Tofu: The cornerstone of this dish; its density holds up to baking and offers a substantial bite. Choosing a firm or extra‑firm block ensures the tofu doesn’t fall apart. If you use a softer tofu, the tenders will be mushy.
All-Purpose Flour: Creates a light, airy coating that crisps up beautifully. It also helps bind the cornstarch and nutritional yeast. You can swap for a gluten‑free blend if you need a gluten‑free version.
Cornstarch: Works with the flour to give a crisp, almost popcorn‑like texture. It also keeps the coating from becoming soggy. Without it, the tenders can feel heavy.
Nutritional Yeast: Adds a cheesy, nutty flavor that mimics dairy cheese. It also boosts protein content and gives a subtle sheen to the glaze. If you’re vegan, this is a perfect substitute for Parmesan.
The Unexpected Star
Maple Syrup: Provides a natural sweetness that balances the salt and spice. Its caramel notes deepen the glaze’s flavor profile. If you’re not a fan of maple, honey or agave syrup can be used, but the flavor will shift slightly.
Chili Flakes: A pinch of heat that lifts the dish without making it spicy. It adds a subtle crunch when you bite through the coating. If you prefer a milder version, simply leave them out.
The Final Flourish
Lemon Zest: Adds a bright, citrusy lift that cuts through the richness of the glaze. It also enhances the overall aroma. Be careful to only use the zest, not the bitter white pith.
Fresh Herbs (parsley or cilantro): A final sprinkle gives a burst of color and freshness that contrasts the caramelized exterior. It also adds a subtle herbal note that complements the savory base. If you’re not a fan of cilantro, parsley works just as well.
Sesame Oil: A drizzle of this oil in the glaze gives a nutty depth and a glossy sheen. It also helps the glaze set into the coating. A little goes a long way, so use it sparingly.
Sesame Seeds: Optional but highly recommended; they add a crunchy texture and a nutty aroma that pairs beautifully with the tofu. Toast them lightly before sprinkling for maximum flavor.
The Method — Step by Step
- First, press the tofu to remove as much moisture as possible. Wrap the block in a clean towel and place a heavy pan on top for 15 minutes. This step is crucial; it ensures the coating sticks and the final product stays crispy. I dare you to skip it and see the difference.
- Once pressed, pat the tofu dry with paper towels. Slice the block into thick, bite‑size sticks, about 1 inch wide. The thickness keeps the interior firm while the exterior crisps beautifully. If you prefer thinner sticks, just be mindful the coating may crack more easily.
- In a medium bowl, whisk together soy sauce, maple syrup, sesame oil, garlic powder, onion powder, smoked paprika, salt, pepper, and chili flakes. This batter will coat each tender and form the caramelized glaze. The balance of sweet, salty, and smoky is what makes this version unbeatable.
- Dip each tofu stick into the batter, ensuring an even coating. Let any excess drip off before placing on a parchment‑lined baking sheet. The batter should cling like a second skin, ready to caramelize. A well‑coated stick will stay crispy longer.
- Preheat your oven to 425°F (220°C) and line a baking sheet with parchment paper. Arrange the coated sticks in a single layer, leaving a small gap between each piece. The heat will create steam that helps the coating crisp up.
- Bake for 15 minutes, then flip each stick carefully. The first side should be golden and slightly blistered, indicating the coating is setting. Flip and bake for an additional 10 minutes, or until the second side is crisp and caramelized. Keep an eye on the edges; they can burn quickly.
- During the last 3 minutes of baking, brush the tops with a thin layer of the remaining glaze. This step locks in moisture and gives a glossy finish that’s impossible to resist. The glaze should bubble and set into the coating, creating a caramelized crust.
- Once baked, remove the sticks from the oven and let them rest for 2 minutes. Sprinkle with lemon zest, chopped herbs, and toasted sesame seeds for a burst of color and freshness. Serve hot, and watch the crowd devour them before you can even say “more.”
That's it — you did it. But hold on, I've got a few more tricks that'll take this to another level. Stay tuned for the insider section where we’ll dive into techniques that elevate the flavor and texture even further.
Insider Tricks for Flawless Results
The Temperature Rule Nobody Follows
Many cooks set the oven to 400°F, thinking that’s enough for crispness. In reality, 425°F is the sweet spot for a caramelized crust. The higher heat creates a quick sear that locks in moisture while the exterior crisps up. If you’re using a convection oven, lower the temperature by 25°F to avoid over‑browning.
Why Your Nose Knows Best
Trust your sense of smell while baking; a faint hint of burnt sugar indicates the glaze is ready. If you detect a metallic taste, the soy sauce may have gone rancid, and you should discard the batch. The aroma is a reliable indicator of perfect caramelization.
The 5-Minute Rest That Changes Everything
After removing the tofu from the oven, let it rest for exactly five minutes. This brief pause allows the interior to finish cooking while the exterior stays crisp. The steam inside helps keep the tofu tender, preventing it from becoming rubbery.
Keep It Crispy with a Quick Finish
If you’re reheating leftovers, place the sticks in a hot oven or a skillet for 2–3 minutes. The high heat will revive the crispness without drying out the interior. Avoid microwaving, as it turns the coating soggy.
Flavor Layering with a Quick Marinade
For an extra punch, marinate the tofu in a mixture of soy sauce, lime juice, and a touch of honey for 20 minutes before coating. The acid breaks down the tofu surface, allowing the coating to adhere better. This step is optional but adds a zesty dimension.
Portion Control for Perfect Portions
If you’re serving a crowd, cut the tofu into slightly smaller sticks. Smaller pieces bake faster and are easier to pick up with a fork or chopsticks. They also create a more uniform bite for each guest.
Creative Twists and Variations
This recipe is a playground. Here are some of my favorite ways to switch things up:
Spicy Sriracha Glaze
Swap the maple syrup for a tablespoon of sriracha and add a splash of lime juice. The result is a fiery, tangy coating that pairs well with a cooling cucumber dip. It’s perfect for a summer barbecue.
Herb Crusted Tofu
Replace the nutritional yeast with a mix of dried oregano, thyme, and rosemary. The herbs infuse the coating with Mediterranean flavors. Serve with a drizzle of olive oil and a sprinkle of fresh basil.
Sweet and Smoky BBQ
Use a homemade or store‑bought BBQ sauce in place of the glaze. Add a pinch of smoked paprika for depth. The smoky sweetness pairs wonderfully with a side of coleslaw.
Citrus Lemon Basil
Increase the lemon zest to a full teaspoon and add chopped fresh basil to the final flourish. The bright citrus cuts through the richness, while basil adds a fragrant note. This variation feels like a light, airy snack.
Umami Mushroom Rub
Sauté finely chopped mushrooms with garlic and thyme, then sprinkle over the baked tenders. The umami depth enhances the savory profile, making it feel like a gourmet appetizer. Pair it with a creamy avocado dip.
Mediterranean Za'atar
Dust the tofu sticks with za'atar before baking. The herb blend adds a nutty, earthy flavor that’s reminiscent of Middle Eastern street food. Finish with a squeeze of fresh lemon for a bright finish.
Storing and Bringing It Back to Life
Fridge Storage
Cool the baked tenders completely before placing them in a sealed container. Store in the refrigerator for up to three days. The coating will stay crisp if you reheat briefly in a hot oven before serving.
Freezer Friendly
For longer storage, freeze the baked sticks on a parchment sheet until solid, then transfer to a freezer bag. They keep well for up to two months. When ready, bake at 425°F for 10 minutes to revive crispness.
Best Reheating Method
The optimal way to reheat is to preheat the oven to 425°F and bake for 5–7 minutes. Avoid microwaving, as it will steam the coating and make it soggy. If you’re short on time, a quick 30‑second blast in a toaster oven works too.